|
|
Post by Kat on Oct 14, 2011 16:04:22 GMT
I am enjoying reading your blog and look forward to more installments. I find other people degu experiences fascinating. WOOHOO!! So glad all has gone so brilliantly . . . erm . . . well . . . with some hold your breath moments. LOL!! I love the caption you have for Nutmeg . . . the angle of your shot and the pose she is holding . . . she almost needs a cape whipping in the wind behind her . . . your words are perfect! Your photos are great! Is anyone good at photo shop? Kat x |
|
|
|
Post by malteser60 on Nov 20, 2011 22:43:09 GMT
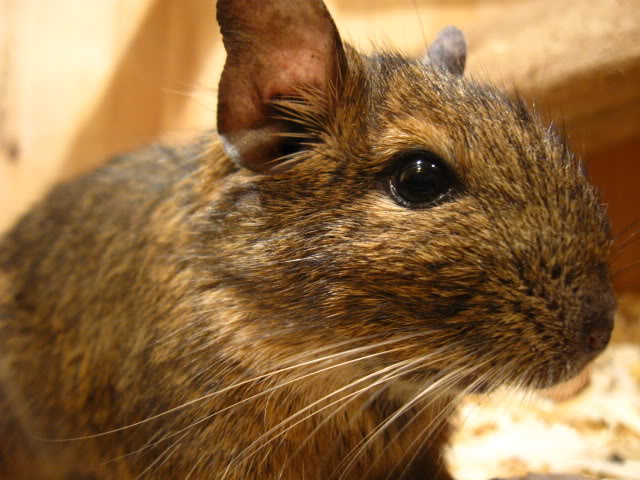
So finally I've gotten round to building my new degu cage and OMG is it huge!!! Well, it seems huge for me, I can even sit in it! First off I sourced the wood, decided on plywood. Went to B&Q and found the type of ply I wanted to use. The size of the ply was 122cm x 244cm. Out of two sheets I got a cage that has a base of 1.22m x 0.6m and a height of 1.3m. I also had wood for two shelves and the front bits of the cage. I decided that I would not build a frame for the cage, just cause I'm not that good at woodwork, and that I would screw the bits of ply directly to each other. Thanks to some great advice from Deguconvert and Kins I predrilled the holes in the ply. I also am covering the shelves and base with stick-on vinyl tiles so that they are wipe clean. Reason for this is currently my cage has shelves with high sides so that I can have bedding on the shelves, and my degus like to move all the bedding, sit on the wood and pee on the wood! I am intending on fixing three shelves, not two, but that will have to wait until after christmas as it would involve another sheet of ply, and thus more money. Tiill then i'm placing ledges and there will be a bit of a big gap at the top. Oh, and the wood to edge the shelves is kiln dried softwood from B&Q. So, some photos... note that i'm only in the first stages of the build: This first pic is the wood, ready to go: 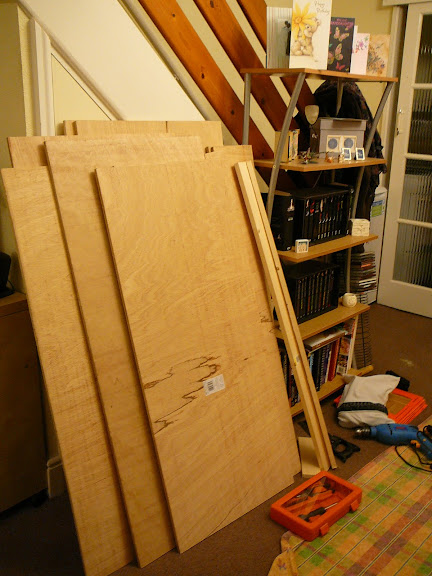 Me sat in the cage just to show how big it's going to be. 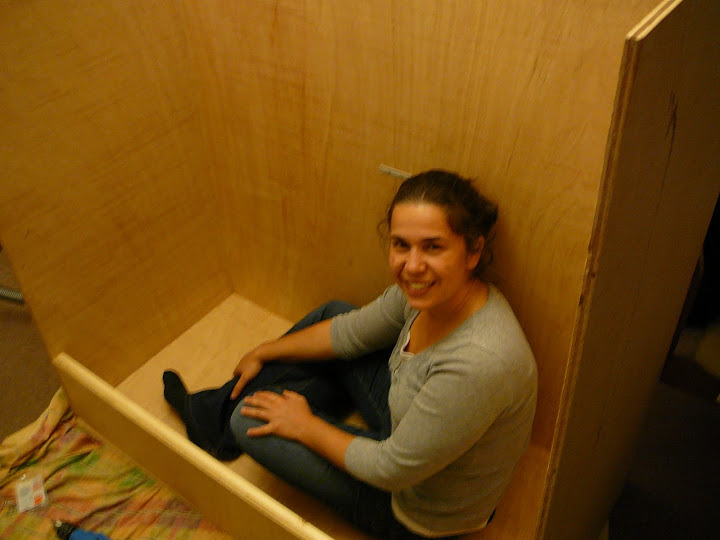 Nutmeg providing a sense of scale - degu-size!  The cage in it's potentially final resting place. As you can see it juts out across the curtained bit which is the exit to the garden.  In the photo above you can see the shelves inside the cage with the vinyl tiles covering the shelves. I still need to cut a hole in the corners of each shelf before I finish the tiling - just need a sharper saw. Also in the corner you can see some metal glinting away. That's the metal that will cover the exposed edges of the plywood at the shelf corners, just needs cutting to size. I have a base depth of about 25cm which seems quite adaquete. I have also edged this on the inside with the kiln dried softwood. The piece of wood goes across the length so that it supports the plywood and stops it from warping. Here you can see what I mean.  It is also the sacrificial piece of wood for degu chewing so that they don't chew the ply that will have the glass runner on it. You will also notice from the pic with nutmeg in it that the back bit has a bracket in it. Well, that's cause I didn't take into account one bit, and that is getting that piece of wood into my car. Well, it didn't fit! So had to get it cut in half and it's held together by brackets. Doh! However, it gets worse. When I got it cut I completely forgot that the circular blade at B&Q takes off 2mm from the wood. So now my shelves, that were perfectly calculated, don't fit by 2mm!!! So I now need to find a wood planer from somewhere to remove 2mm from the edge of each shelf. Grrrr!!! And finally a pic of my current cage:  As you can see the new cage will be much bigger and hopefully nicer ;D |
|
|
|
Post by deguconvert on Nov 21, 2011 5:02:56 GMT
You're doing great, Malteser!! You've accomplished a lot today! Brava!! It's astonishing isn't it, to see the 3D glory of your plans? Mine was so much bigger than I thought it would be, but I felt really pleased with what I did, building it etc. And all without my husband!! Well . . . not entirely, as he did agree to pay for it. LOL! But the REST as ALL ME! Well . . . and my best friend who is a very adventurous and a true whiz with power tools. So . . . aside from Pauline and my husband . . . if as ALL ME! SNICKER!!
|
|
|
|
Post by malteser60 on Nov 21, 2011 9:48:00 GMT
I know, I was so pleased to see it in it's almost finished glory! And it feels solid and sturdy, and I look at it and I think I DESIGNED THAT! ME! ALL ME!!! Hehe ;D
Well, my boyfriend did help with putting it together as I wouldn't have been able to do it on my own. But I designed it and I wielded the power tools ;D ;D
I can't wait till it's finished. I'm borrowing a wood planer off a collegue at work so that I can get the shelves to fit. Plus I need to cut the corners off the shelves for access. Still need to order the glass, going to see if I can get it cheaper from a local glazier (if there is a local glazier). But it's coming together.
|
|
|
|
Post by Kins on Nov 21, 2011 12:32:42 GMT
WOW! It looks absolutely fabulous! Your goos aren't going to know what to do with themselves when they move in.
It is so satisfying isn't it, making it yourself? Good work.
Oh and I love the picture of you sitting in it, very cute, hehe!
|
|
|
|
Post by davx on Nov 22, 2011 20:20:32 GMT
Aww... looks really great your new cage  . |
|
|
|
Post by NightwishRaven999 on Nov 24, 2011 4:49:29 GMT
I will post on here more in details later...but for now I must say; LOOKING GREAT ;D
|
|
|
|
Post by malteser60 on Dec 19, 2011 15:53:39 GMT
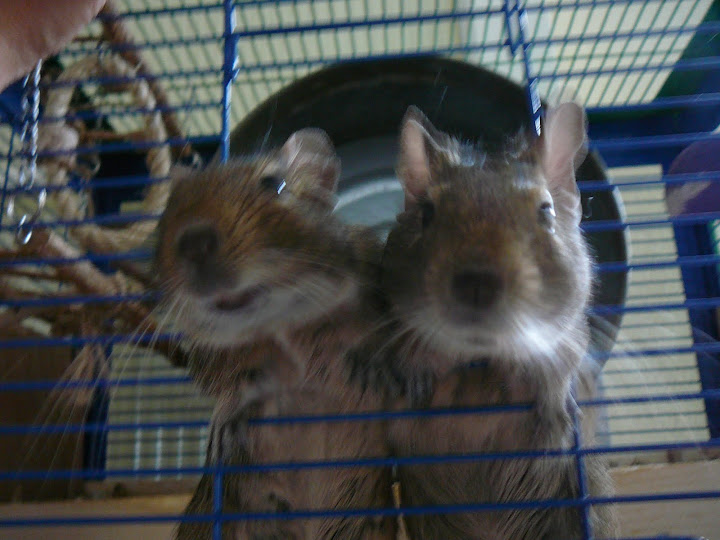
So I have finally found time to update my blog. I have finished the cage, at last, about 2 weeks ago and I must say I can't believe that I have built this myself! The only thing I have left to do is to add in an extra shelf after the Christmas holidays. I want to build a bit of a run so I need to sit down and think about the design and what bits of wood to use. Anyhow, back to the cage, best to describe using photos. First off is the finished cage. It measures 1.22m length x 0.6m depth x 1.3m height.  As you can see there is a big gap between the shelves. I did that deliberately so that I can fit another shelf in there. Also i realised it all looks a bit sparse in there, but that will be remedied. The cage is so much bigger than the previous one that all their stuff doesn't even cover a fraction of the new cage! Right now I'm on the hunt for terracotta pots, tunnels, etc. Every pound shop I see or garden shop I'm in there hunting out some bargains The bottom section is a digging pit, a depth of 25cm if I remember well. I've filled it with wood shavings, straw, hay, tunnels, etc. I have some plum branches in the shed right now from a next door neighbour so those will also go in there.  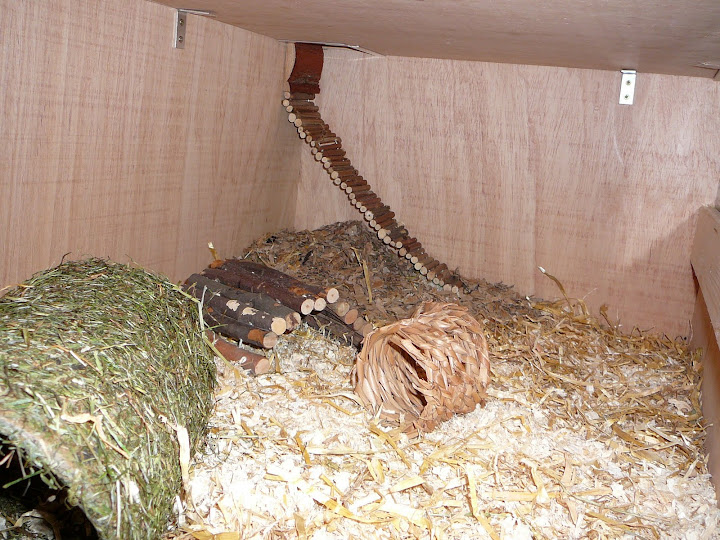 The middle section has their nest box, hay, food, sand bath, etc. 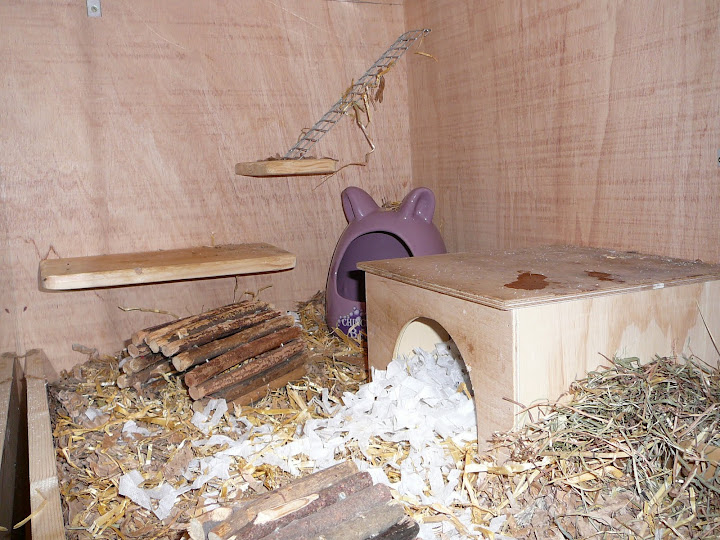  The top section is their play area, with the wheel (will add another one once kat starts making her wheels again), chew toys, etc.  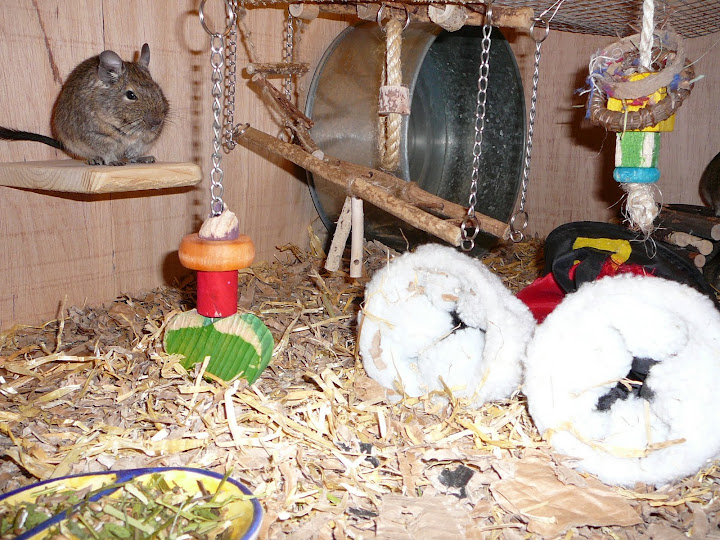  However, as usual it's up to the degus to decide what they want to do. And despite all the space they have and different areas they still insist on trying to all cram onto a small ledge. I don't have a photo of them doing it yet, but here's the ledge: 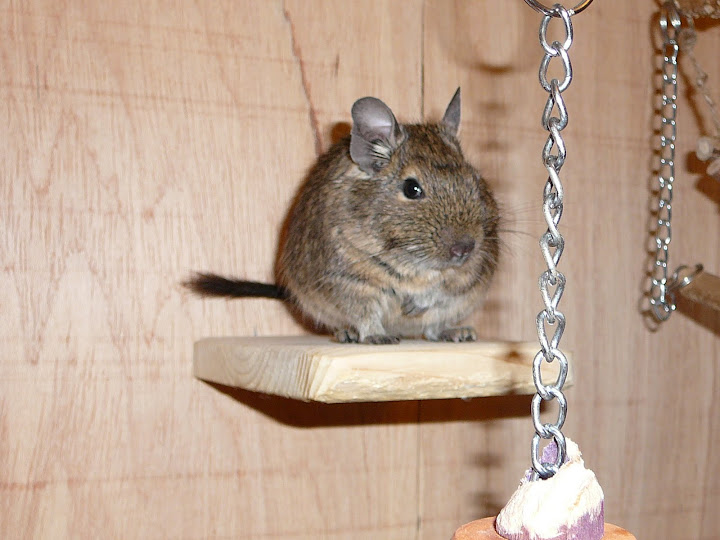 Really I don't get degus sometimes! ;D |
|
|
|
Post by Kat on Dec 19, 2011 16:02:07 GMT
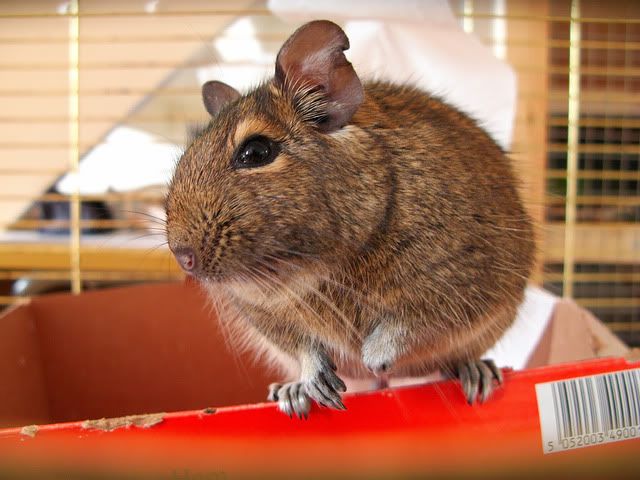
Wow that cage looks amazing. I love the last photo, your degu looks like she has been caught doing something she shouldn't.
Kat
x
|
|
|
|
Post by deguconvert on Dec 19, 2011 16:41:03 GMT
GREAT cage, Malteser!!! You did a WONDERFUL job!! I am thoroughly impressed!! Once you have the additional shelf in there later on . . . it will truly be spectacular!! Your degus must be really loving it. I bet they've barely glanced at you the last few days. My boys loved theirs so much the first month that they would run and hide when we could come to the door to take them out for a visit. LOL! WELL DONE!
|
|
|
|
Post by malteser60 on Dec 19, 2011 17:29:51 GMT
Hah! That's what you'd think DC! They know that the glass doors slide open, so they've already chewed down almost a quarter of the bottom shelf lip, not to mention the pine in front of the runners. Seriously, they are on a mission! Need to show you photos when I get back home. Two of them are happy, the other two just want to try and escape. <sigh> they'll never be happy unless they have run of the entire house. On the funny side, it is so funny watching them franticly trying to scratch away at the glass. Also Poppy is obsessed with licking the glass as well! lol!
|
|
|
|
Post by Kat on Dec 19, 2011 17:40:52 GMT
Do you mind me asking how much the glass cost and what did you ask fro from the store?
I think thats the bit that scares me the most about building my own cage, well at the moment anyway. I wish I could just emply someone to do it for me. lol. I really admire you, you have done so well.
Kat
|
|
|
|
Post by NightwishRaven999 on Dec 20, 2011 2:32:49 GMT
Well done Alexia ! Saw your cage in the "Show us your cage thread" but thought it would be better to comment on it here ! Its so good that you have kept the CARA in mind while building this ! Again, well done !
I would love to include your cage in the cage building guide.
Do you think you could take a few photos of the cage (like the first one) but without the surrounding area in the pictures ? This would make a great example for our readers to follow !
Looking forward to seeing more !
|
|
|
|
Post by davx on Dec 20, 2011 4:20:04 GMT
Oh, looks well. Do you plan to offer them deep bedding or a straw stack?
And another idea I had, when I read the recent postings again. Do you still have the old cage? If so, is it possible to make a photo with the two cages side by side? I made such a photo with my first cage and my first selfmade and the size difference is impressive.
|
|
|
|
Post by NightwishRaven999 on Dec 20, 2011 5:04:44 GMT
Do you still have the old cage? If so, is it possible to make a photo with the two cages side by side? I made such a photo with my first cage and my first selfmade and the size difference is impressive. Great idea David ! |
|
|
|
Post by malteser60 on Dec 20, 2011 13:14:52 GMT
@ davx, Yes, I still have the cage, although amie is borrowing it at the moment. What I will do is both cages are photographed in the same location so I can photoshop them together. Also what do you mean by a straw stack? On the shelves I plan to keep using the finacard with straw/bedding hay mixed in. I ran out of finacard when I finished the cage, didn't realise that I needed that much! For the base I think I'll stick to the wood shavings as they like to burrow in it. Also in the pictures I had put the hay in the nest ball for them to pull it out but they weren't too keen on it. So now the hay is out of the ball and in a big lump in the corner for them to burrow it. Also I have a separate big bowl on the second shelf where I put some tastier hay and grass for them like timothy hay, orchard hay, etc. @jordan, I'll try and get a better picture. Also where it is at the moment is not that ideal so we're thinking of rearranging the living room a bit so that it fits in better. kat, I found a local glaziers to do the glass for me. I think that will be your cheapest and best option in all honesty. Online the cheapest I found with delivery was £60 each, so £120 in total. From the local glaziers they were £35 each, so £70 in total. I asked for 4mm toughened glass (so that it is stronger, and if it breaks it shatters rather than breaking into big shards that can severly cut up a degu). Also ask for it to be edged so that it slides better in the runners. These are the runners I bought: www.ebay.co.uk/itm/4ft-VIVARIUM-GLASS-4mm-RUNNERS-black-top-bottom-/320455307241?pt=UK_Pet_Supplies_Reptiles_Spiders_Insects&hash=item4a9c9fefe9Make sure that the runners fit the glass size, so don't get 6mm runners if you have 4mm glass. I also bought the black stick on handles from the same place as the runners to match. |
|
|
|
Post by davx on Dec 20, 2011 19:38:56 GMT
Sorry I meant straw pile. My degus built burrows in the straw and often slept in it too.
|
|
|
|
Post by malteser60 on Dec 20, 2011 21:23:30 GMT
Ah yes, that is what I've done now when I took the hay out of the nest ball. The straw I have just intermingled it with the bedding, but the hay is good for digging burrows. When I go back home I'm going to fill the bottom up with more of the hay.
|
|
|
|
Post by Deleted on Dec 21, 2011 14:26:12 GMT
Your cage looks amazing Malteser, very well done! Your degus look so happy!  I only hope mine will be as good when I can finally start building it ^^ |
|
|
|
Post by davx on Dec 24, 2011 4:12:23 GMT
Yes hay is also good. I mixed them two also together and used it as bedding / digging substrate.
In addition with the structure of branched twigs, you can create a kind of roof and then covering with a layer of straw and hay... in this way I got better stability and good hides for the degus.
|
|


 .
.